
Shrubs
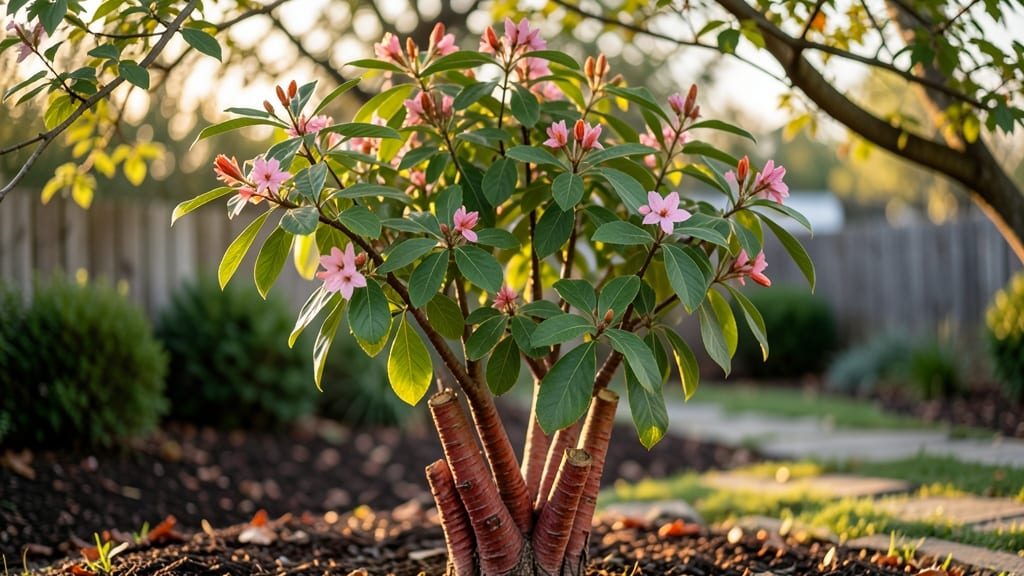
Your burning bush shrub care routine starts with understanding its unmatched hardiness—this plant thrives where others struggle, with stunning red fall foliage and bright berries that last through winter. 🌿 I’ve watched mine grow bold and healthy with almost no fuss, proving it’s one of the most low-maintenance yet high-impact shrubs around.
The secret? Full sun to partial shade, well-draining soil, and watering only when the top inch feels dry. Pruning is minimal—just shape it lightly after flowering to keep it tidy.
Over time, you’ll see that vibrant red glow that makes neighbors stop and stare, all while the plant handles drought and cold like a champ. By following this care routine, you’ll end up with a showstopping landscape centerpiece that requires less work than most annuals.
The berries attract birds, the foliage changes color dramatically, and the structure stays strong for decades with proper pruning. Works in zones 4-8, making it perfect for nearly any climate. Let’s get your burning bush looking its best year-round!
📚 In This Guide
- What you need
- Instructions
- Tips and common mistakes
- Wrapping up and next steps
What you need
- ● Pruning shears or loppers – Choose sharp, bypass-pruning shears (4–6" blades) for clean cuts. For thicker branches, opt for loppers with a 10–16" reach.
- ● Gloves – Wear gardening gloves (heavy-duty, chemical-resistant) to protect your hands from thorns and sap.
- ● Disinfectant (70% isopropyl alcohol or bleach solution) – 1 part bleach to 9 parts water to sterilize tools between cuts and prevent disease.
- ● Mulch (2–3 inches of organic material) – Use shredded bark, pine straw, or compost to retain moisture and suppress weeds.
- ● Watering can or hose with adjustable nozzle – Deep watering (1–1.5 inches per week) is key, especially during dry spells.
- ● Fertilizer (balanced, slow-release, or organic) – Look for a 10-10-10 or 20-20-20 NPK ratio in spring or early fall.
- ● Pruning saw – For thick, woody stems that shears can’t handle.
- ● Plant food or compost tea – Boosts soil health and nutrient uptake.
- ● Stake or support ties – Useful if your shrub is young or top-heavy.
- ● Soil test kit – Ensures your burning bush gets the slightly acidic to neutral pH (6.0–7.0) it loves.
- ● Weather-resistant spray (for pests/diseases) – Only needed if you spot aphids, spider mites, or fungal issues.
Step-by-step instructions for year-round burning bush care
Here's the simple, low-maintenance approach I use to keep my burning bushes vibrant through every season.
🌿 Step 1: Plant in the Right Location
Burning bushes thrive in full sun to partial shade, so choose a spot that gets at least 4-6 hours of sunlight daily. I always plant mine where they'll get morning sun and afternoon shade—this prevents leaf scorch while still encouraging vibrant fall color. The soil should drain well but retain moisture; if yours is heavy clay, amend with 2-3 inches of compost before planting.
Dig a hole twice as wide as the root ball but only as deep. Place the shrub in so the top of the root ball sits 1 inch above ground level. This prevents water from pooling around the stem and causing rot. Backfill with native soil, then water deeply to settle everything. You'll know it's right when the soil surface looks slightly compacted but not muddy.
☀️ Step 2: Water Consistently During Establishment
For the first 2 years after planting, water your burning bush 1-2 times per week, giving it about 1 gallon per week total. Let the top 2-3 inches of soil dry out between waterings—this encourages deep root growth. I check by sticking my finger in the soil; if it feels dry at that depth, it's time to water. Overwatering is the fastest way to kill these shrubs, so don't let them sit in soggy soil.
Once established, burning bushes are drought-tolerant. You'll see this when the plant stops wilting in dry spells and the leaves maintain their deep green color. After two years, you can reduce watering to every 2-3 weeks unless your area experiences extreme heat or drought. Mulch with 2-3 inches of organic mulch around the base (but keep it 3 inches away from the stem) to retain moisture and regulate soil temperature.
✂️ Step 3: Prune for Shape and Health
The key to minimal pruning is timing. I prune my burning bushes right after they finish blooming in spring—usually late May or early June. This gives them time to develop new growth before winter. Use clean, sharp pruners to remove any dead, diseased, or crossing branches first. Cut back to just above a healthy bud or lateral branch to encourage bushier growth.
For shaping, I never remove more than 1/3 of the plant's total volume in one year. You'll see the best results when you make cuts just outside the collar (that thickened area where the branch meets the stem). Avoid heavy pruning in fall or winter—this can stimulate tender new growth that won't survive cold temperatures. If you must prune later in the season, limit yourself to removing only dead or damaged branches.
🪴 Step 4: Feed and Protect Through Seasons
Fertilize your burning bush once in early spring with a balanced 10-10-10 fertilizer applied at half the recommended rate. Spread it evenly over the root zone and water it in well. I skip fertilizer in fall because the plant is preparing for dormancy, and extra nutrients can encourage weak growth that won't survive winter. You'll notice healthier foliage and more vibrant fall color when the plant gets this annual boost.
In winter, protect young plants (under 3 years old) from harsh winds and heavy snow by wrapping them loosely with burlap or using a tree guard. Mature plants usually handle winter well, but if you live in an area with prolonged temperatures below 0°F, consider adding 2-3 inches of mulch around the base for extra insulation. Remove any protective materials in early spring before new growth begins.
⏰ Step 5: Monitor for Pests and Diseases
Burning bushes are generally pest- and disease-resistant, but I still keep an eye out for spider mites and scale insects. You'll spot these as tiny webs or sticky residue on leaves. Treat infestations immediately with a strong spray of water to knock off mites, or apply horticultural oil if the problem persists. For scale, I use a cotton swab dipped in rubbing alcohol to wipe off individual insects—it's tedious but effective.
If you notice yellowing leaves or black spots, these could signal fungal issues like powdery mildew. Improve air circulation by pruning to open the center of the plant and avoid overhead watering. If the problem continues, apply a fungicide labeled for ornamental shrubs. Healthy burning bushes should have glossy, dark green leaves with no unusual markings, so regular inspections catch issues before they spread.
Tips & tricks for perfect year-round burning bush care
These simple strategies will help your shrubs thrive with minimal effort and maximum impact.
Sunlight Placement: When selecting that perfect spot for your burning bush, pay attention to how the sun moves across your yard throughout the day. Morning sun followed by afternoon shade is ideal—this balances light exposure without risking leaf scorch. I've learned the hard way that placing them in full afternoon sun can turn leaves crispy by midsummer, even though they handle morning rays beautifully.
Soil Preparation: The 2-3 inches of compost I mentioned for heavy clay soil isn't just about drainage—it's about creating a sponge-like environment that holds moisture while allowing excess to drain. For sandy soil, mix in some peat moss instead to help retain water. The key is mimicking the plant's natural woodland edge habitat where it thrives. You'll notice the difference in root development after just one growing season.
Watering Technique: That finger-in-the-soil test is your best friend during the establishment phase. When you feel dryness at 2-3 inches down, it's time to water—but don't just pour! Water deeply and slowly to encourage roots to grow downward. I use a soaker hose for this because it delivers water right to the root zone without wetting the leaves, which helps prevent fungal issues. The gallon-per-week guideline is just a starting point; adjust based on your climate and soil type.
Pruning Timing: The spring pruning window (right after blooming) is non-negotiable for healthy growth. I set calendar reminders for late May because that's when my bushes typically finish blooming. This timing gives new growth time to harden off before winter. One year I pruned too late, and the tender new shoots didn't survive our first frost—don't make that mistake!
Pro Tips for Burning Bush Shrub Care
- These simple strategies will help your shrubs thrive with minimal effort and maximum impact.
- Sunlight Placement: When selecting that perfect spot for your burning bush, pay attention to how the sun moves across...
- Soil Preparation: The 2-3 inches of compost I mentioned for heavy clay soil isn't just about drainage—it's about crea...
Frequently asked questions
Got questions about keeping your burning bush shrub vibrant and healthy? You’re not alone! Here are some of the most common queries—and straightforward answers—to help you master care with confidence.
How often should I prune my burning bush?
Prune your burning bush once a year, ideally in late winter or early spring (before new growth appears). Avoid pruning in fall—it can stimulate tender growth vulnerable to frost damage. Light shaping is fine, but never remove more than 1/3 of the plant at once to avoid stress.
Why aren’t my burning bush leaves turning red this fall?
Red foliage fades due to stress factors like overwatering, poor sunlight, or nutrient deficiencies. Ensure your shrub gets full sun (6+ hours/day) and well-draining soil. A balanced fall fertilizer (low nitrogen) can also boost color. If issues persist, check for pests like spider mites.
How much water does a burning bush need?
Water deeply 1–2 times per week during the first growing season to establish roots, then reduce to once weekly (or less in winter). Overwatering is a common mistake—yellow leaves or soggy soil signal you’re doing too much. Mulch around the base to retain moisture and regulate temperature.
Can I grow a burning bush in a container?
Yes! Choose a large pot (at least 18–24 inches wide) with drainage holes and use a fast-draining potting mix. Container bushes need more frequent watering (2–3 times/week in summer) and may require winter protection (burlap wrap or moving indoors if temps drop below 10°F). Dwarf varieties like ‘Angel’s Wings’ are ideal for pots.
What should I do if my burning bush has brown, crispy leaves?
Crispy leaves usually mean underwatering or drought stress, but could also signal sunburn (if suddenly exposed to harsh light) or fungal issues (like powdery mildew). Trim affected branches, water deeply, and ensure consistent moisture. For fungal concerns, apply neem oil or a copper fungicide.
Wrapping up and next steps
Caring for your burning bush shrub is simpler than you think—just a little attention to watering, pruning timing, and seasonal prep will keep it vibrant year-round! 🌿 With minimal effort, you’ll enjoy stunning fall foliage and a healthy, low-maintenance shrub that’s the star of your landscape.
Ready to take the next step?
Start by marking your pruning calendar for late winter or early spring—this small action sets the stage for a season of lush growth. Then, grab your shears and give it a try! Your burning bush will thank you with bold colors and effortless beauty.